- Getting Started
- Wizard
- Google products RSS
- Podcast RSS
- iTunes podcast RSS
- Interface
- Main Toolbar
- Navigation tree
- Work area
- Channel tabs
- Item tabs
- Support panel
- Additional tools
- Pinger
- FTP Manager
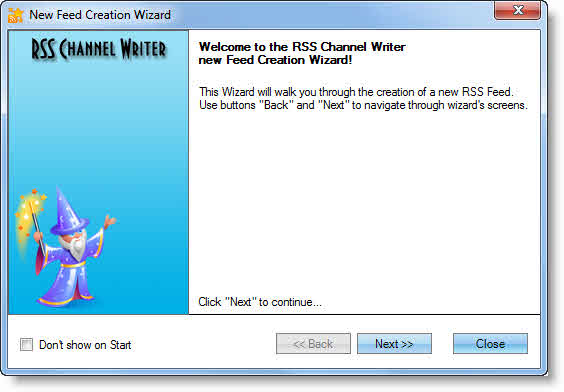
Getting Started
Creating Channel via Wizard
- Choose "Standard RSS Feed" in Wizard, then click "Next".
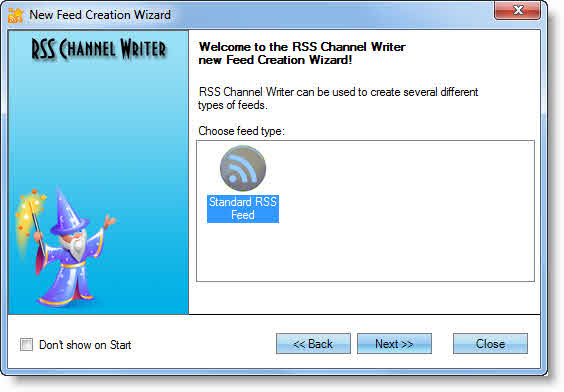
-
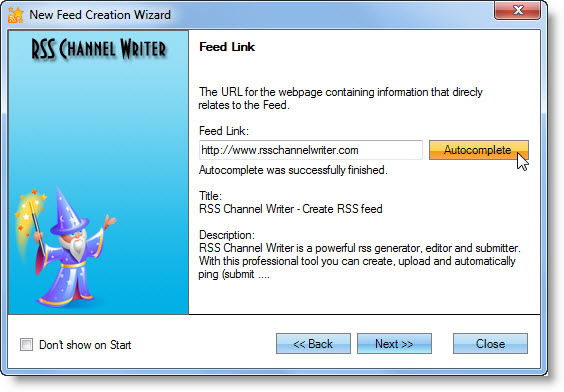
Link: Enter a website address for which you want to create an RSS feed. If the feed is created for a separate category, then enter the webpage URL. (e.g. http://www.site.com/music/)
- For fast autocomplete of all the necessary fields, press "AUTOCOMPLETE". The program will use your metadata for acquisition of information about your website, particularly <title> and meta tag "description" of the page.
- After completion of autocomplete, press Next.
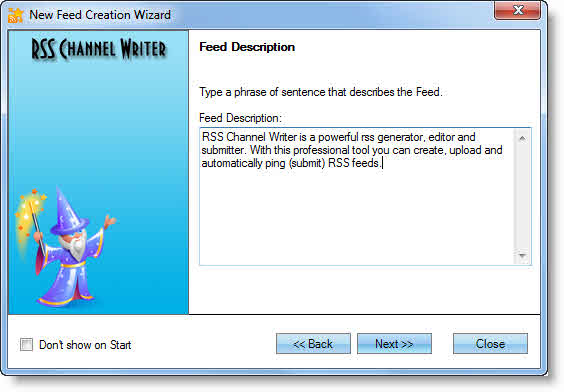
- Feed Description: When you use autocomplete function, then you'll notice that the description of the feed is already in place. The feed description is automatically generated from the metatag "description" of the webpage. If need be you can edit the description or leave as it is and then press Next.
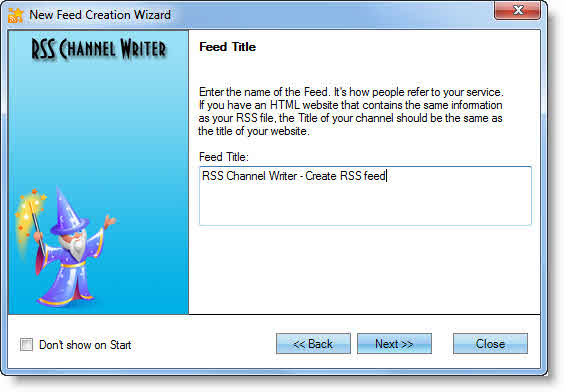
- Feed Title: When you use autocomplete function, you'll notice that the feed title is already in place. The feed title description is automatically generated from the metatag <title>. If need be you can edit the title or leave as it is and then press Next.
- Item: Click Next to add new item to the feed.
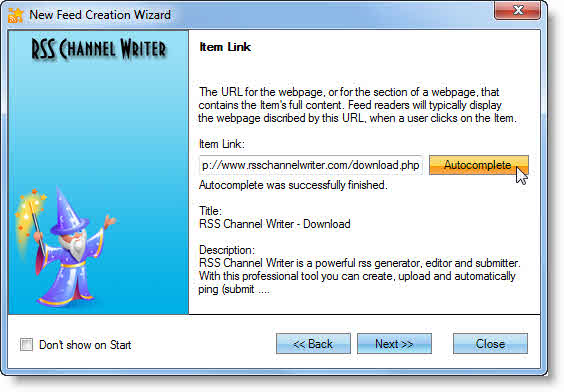
- Item link: This is the URL webpage that includes full description of an item. After reading the description visitors will visit that webpage by clicking the link.
- To fill in the requested fields, press AUTOCOMPLETE.
- After completion of autocomplete, press Next.
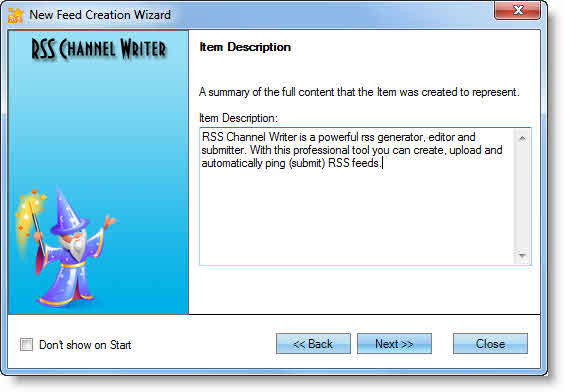
- Item description: If you used autocomplete function, then you'll notice that the item description is already in place. The item description is automatically generated from the metatag "description". If need be you can edit the description or leave as it is and then press Next.
- Item Title: When you use autocomplete function, you'll notice that the item title is already in place. The item title description is automatically generated from the metatag <title>. If need be you can edit the title or leave as it is and then press Next.

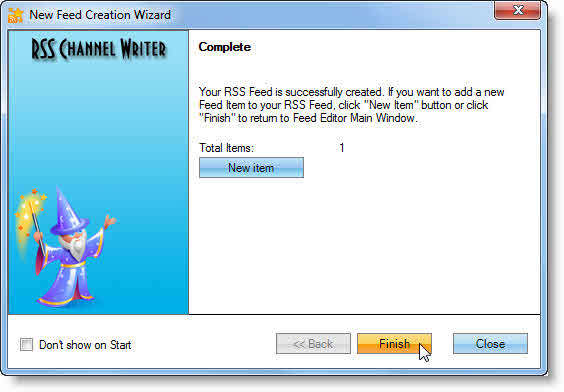
- Complete: First item is successfully created.
- If you want to add new items, click NEW ITEM and add new elements as described above.
- Click FINISH when all done.
Interface
Main Toolbar
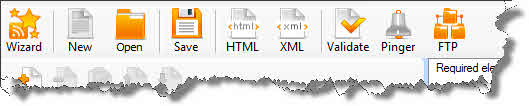
Wizard - Getting Started
New - Select a feed type you want to create and press OK.
Open - load a project file or a ready RSS channel.
Save - save a project file or a finalized RSS channel in XML format
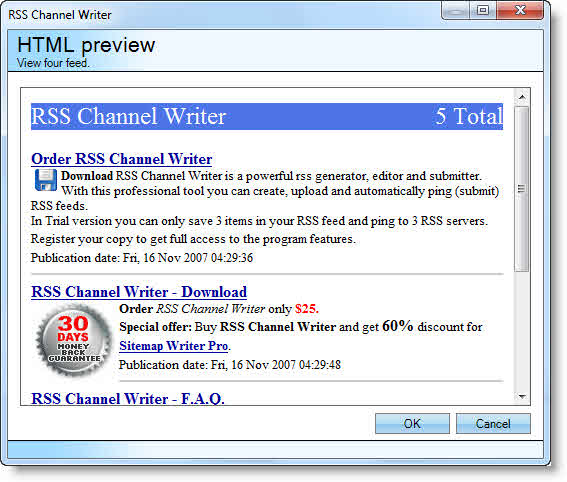
HTML preview - preview your RSS channel as it is seen in the browser or agregator.
XML preview - Preview your RSS channel in an XML format. In other words, the initial XML code of your RSS file.

Validate - Click validate to check whether your RSS is error free or not.
Pinger
FTP Manager
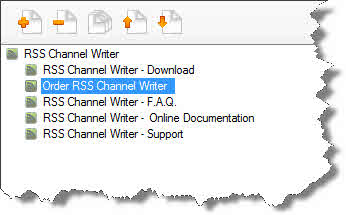
Navigation tree
Here you can see the channel and its items. Use the navigation tree to add, remove, clone and sort (move up and down) the channel items. When you click a channel or item in the navigation tree respective elements are shown in the work area, so you can edit them. To change the title or any attribute of the channel or an item, fill in the required and optional fields in the work area.
Work area
Channel tabs
"Required elements" tab of the channel.
This tab is used for input of required information relating to the entire channel.
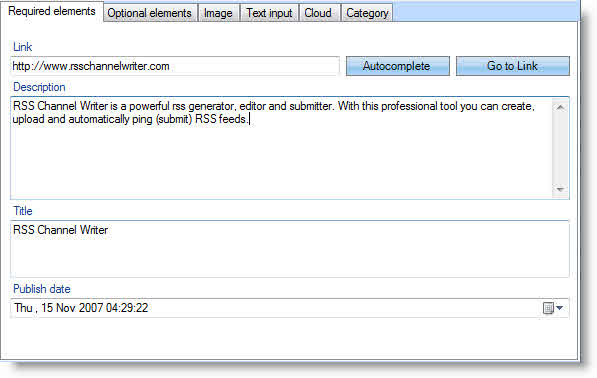
- Link - main URL of the webpage to create the RSS channel for. If you want to create the RSS channel for the entire website, then you need to enter the homepage URL in the required field. If you want to create a channel for a particular section, then enter the URL of the respective section (e.g: http://www.site.com/music/).
- Description - Description of the entire channel. You can enter the general description of the website or a section you want to create a channel for.
- Title - Channel title to refer people to your website.
- Publication date - Publication date of the channel.
"Optional elements" tab of the channel.
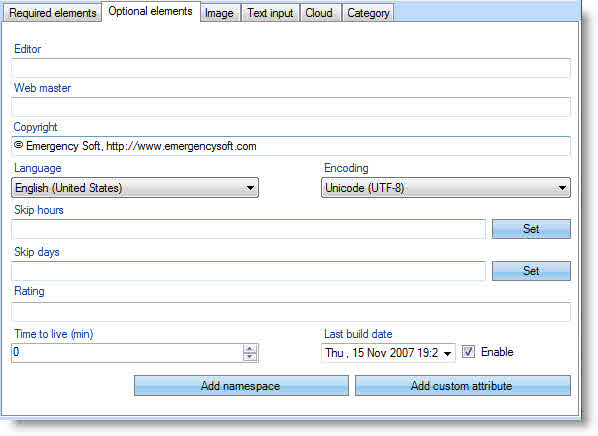
- Editor - Email address of the person responsible for the editorial content. You can also add the person's name (Sample: john.doe@site.com (John Doe)).
- Webmaster - Email address of the person responsible for technical problems relating to the channel. You can also add the person's name (Sample: john.doe@site.com (John Doe)).
- Copyright - Copyright notice for the content of the channel. E.g.: Copyright 2010 "My Super Company". All Rights Reserved.
- Language - The language the channel is written in. This allows aggregators to group all language sites on a single page.
- Coding - Coding of the channel.
- Skip hours - A hint for aggregators telling them which hours they can skip. Those values are numbers between 0 and 23, representing a time in GMT. The aggregators supporting this feature will not read the channel on hours listed in the Skip hours element. Press SET to setup the value.
- Skip days - A hint for aggregators telling them which days they can skip. It can take values up to seven values: Monday, Tuesday, Wednesday, Thursday, Friday, Saturday or Sunday. Aggregators may not read the channel during days listed in the Skip days element. Press SET to setup this value.
- Rating - PICS rating of the channel.
- Time to live (min) - Number of minutes that indicates how long a channel can be cached before refreshing from the source.
- Last build date - The last time the content of the channel changed.
- ADD NAMESPACE button - RSS makes it possible to expand itself with new features. It is enough to comply with a simple rule. RSS feed may contain elements that differ from formal specifications only if those elements are defined in the namespace. Add namespace via this button for further use in custom attributes of the channel and element.
- ADD CUSTOM ATTRIBUTE button - here you can add custom attributes to the channel. Note that you must add namespace before you use this button. Click ADD A TAG and select the namespace prefix created by you from the list of "prefix". Then enter a name tag and the actual text of the description.
"Image" tab of the channel.
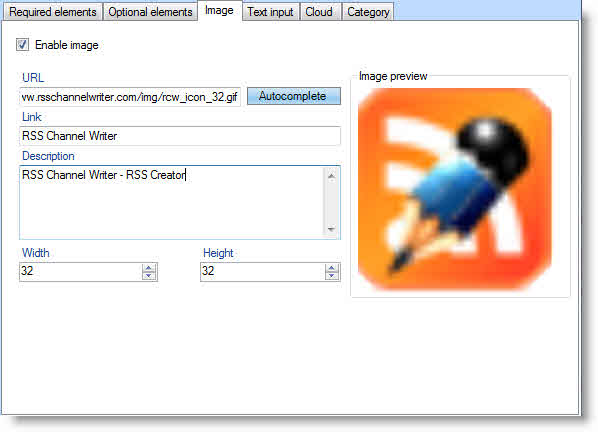
If you want to add any image to the channel (either small banner or website logo) then activate the image. In general the image is seen together with the channel. It is recommended to use 88x31 size button. Supported formats are .gif, .jpg, .png.
- URL - Enter in the Internet the address of the image you want to use. Click AUTOCOMPLETE button and the program will automatically fill in the Width and Height columns according to your image size.
- Link - Channel image will be the referral to that website.
- Description - Image description that will be used in attribute of the image.
- Width - Image width, maximum value is 144, recommended width is 88.
- Height - Image width, maximum value is 400, recommended height is 31.
"Text input" tab of the channel.
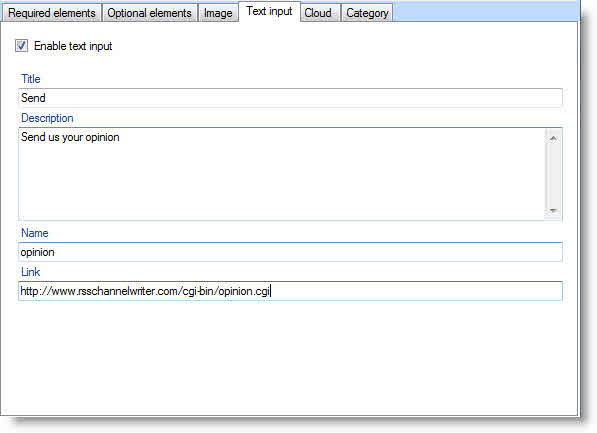
Specifies a text input box that can be displayed with the channel.
- Title - The label of the submit button in the text input area.
- Description - Explains the text input area.
- Name - The name of the text object in the text input area.
- Link - The URL of the CGI script that processes text input requests.
"Cloud" tab of the channel.
It specifies a web-service that supports the rssCloud interface. This interface can be implemented via HTTP-POST, XML-RPC or SOAP 1.1 protocols and it implements the subscription to channel updates.
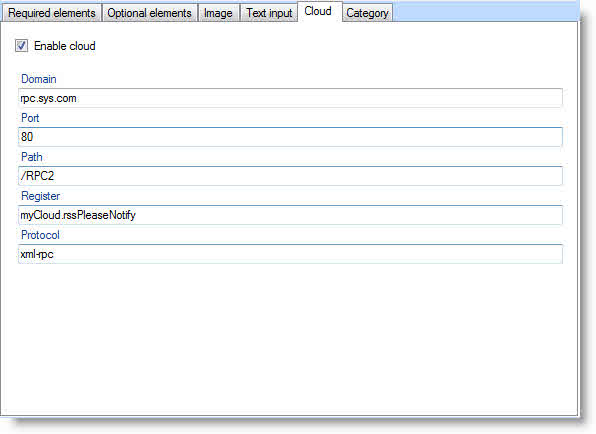
- Domain - Domain name or IP address of the cloud
- Port - TCP port that the cloud is running on
- Path - Location of its responder
- Register - Name of the procedure to call to request notification
- Protocol- Xml-rpc, soap or http-post (case-sensitive), indicating which protocol is to be used
Its purpose is to allow processes to register with a cloud to be notified of updates to the channel, implementing a lightweight publish-subscribe protocol for RSS feeds.
Example:
Domain: rpc.sys.com
Port: 80
Path: /RPC2
Register: myCloud.rssPleaseNotify
Protocol: xml-rpc
This is telling the aggregator to send an XML-RPC message to rpc.sys (port 80), with path /RPC2 to the procedure named myCloud.rssPleaseNotify to request notification.
Full description of the rssCloud interface is here.
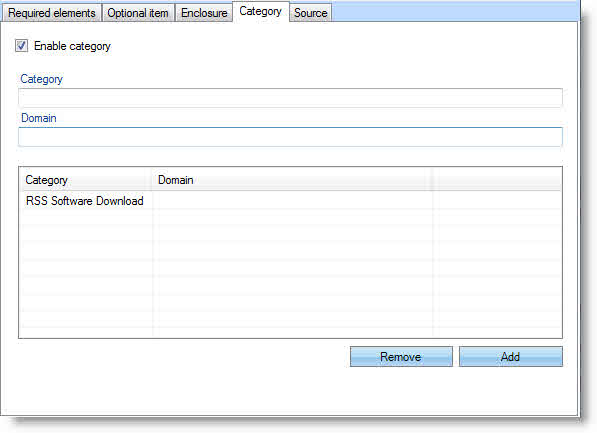
"Category" tab of the channel.
Specify one or more categories that the channel belongs to. It has one optional attribute, domain, a string that identifies a categorization taxonomy.
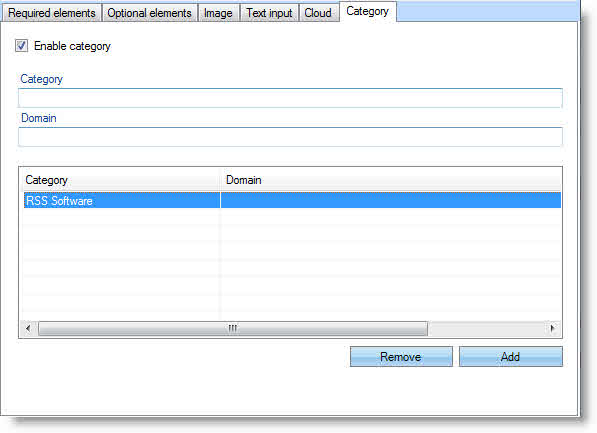
- Category - Specify one or more categories that the channel belongs to.
- Domain - A string that identifies a categorization taxonomy.
Item tabs
"Required elements" tab of the item.
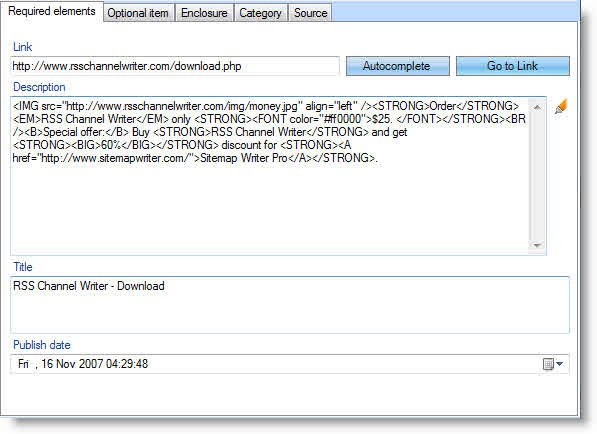
- Link - Full URL of the publication.
- Description - Abstract of the publication. For quick filling of the field click AUTOCOMPLETE button. The program will automatically fill in the Description field using the "description" metatag of the webpage.
- Title - Title of the publication. For quick filling of the field click AUTOCOMPLETE button. The program will automatically fill in the Title field using the <title> tag of the webpage.
- Publish date - Publication date of the item.
"Optional elements" tab of the item.
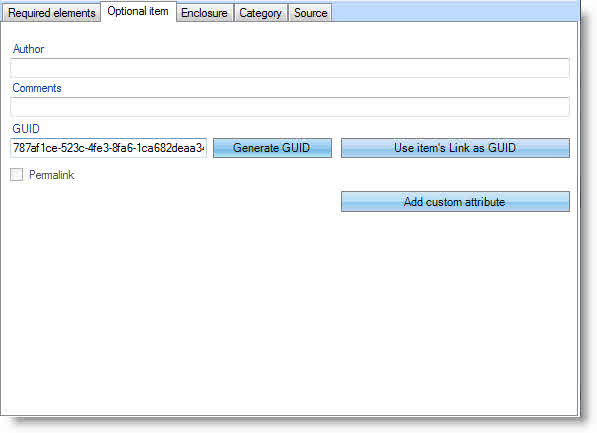
- Author - Email of the author of the publication. E.g. you can add a person's name according to the sample: john.doe@site.com (John Doe).
- Comments - URL of the webpage for feedback and comments of the publication.
- GUID - A string that uniquely identifies the item. GUID stands for globally unique identifier. There are no rules for the syntax of a guid. The only thing is that the GUID must be unique. The program automatically generates GUID for you, but you can prescribe your GUID as a permanent news URL. Click "USE ITEM'S LINK AS GUID" for the program to fill in the field using URL of the item (it should be already filled in). In this case the field "Permalink" is automatically checked and that address will be used as a permanent address for news. If there is another URL for permanent referral you can insert the latter (note: that you should activate "Permalink").
- Add custom attribute - ADD CUSTOM ATTRIBUTE - here you can add custom attributes for the feed. Note that you should add namespace in advance to use this button. Click ADD TAG in "Prefix" list and select namespace prefix created by you. Then enter the tag name and description text.
"Enclosure" tab of the item.
Here you can describe the media file attached to the feed. If you enable the enclosure the aggregators will automatically consider your RSS feed as an Podcast RSS channel.
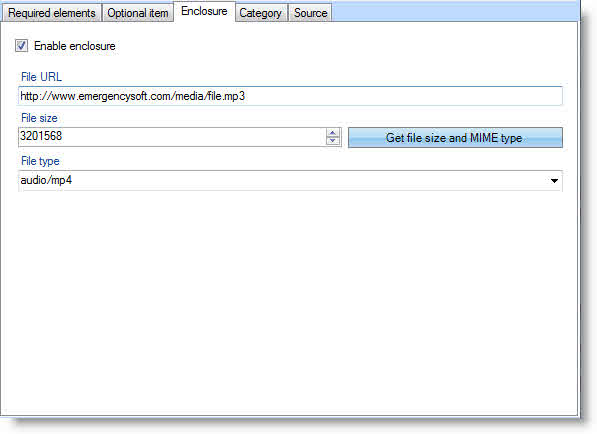
- File URL - Full address of the enclosure, must be HTTP URL.
- File size - Stands for file size in bytes. Click "Get file size and MIME type" for the program to automatically fill in the required field (in this case the File URL should be already specified).
- File type - stands for standard MIME type enclosure. Click "Get file size and MIME type" for the program to automatically fill the required field (in this case the File URL should be already specified).
"Category" tab of the item.
Define one or more categories the item belongs to. It has one additional attribute - domain, which identifies a categorization taxonomy.
- Category - Indicate the category the item belongs to.
- Domain - Domain which identifies a categorization taxonomy.
"Source" tab of the item.
RSS-channel that the item came from. In other words the RSS channel the publication belongs to.
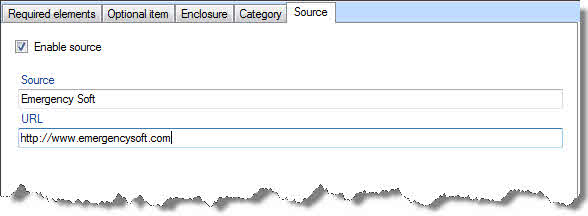
- Source - RSS-channel that the item came from.
- URL - URL of the RSS channel the item came from.
Support panel
Support Panel is comprised of three useful tabs:
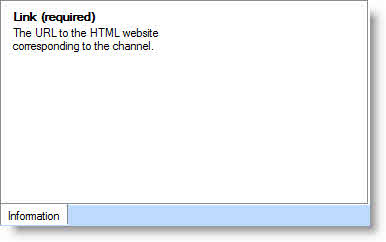
Information tab - helps you by providing information about the editorial specifics of the elements;
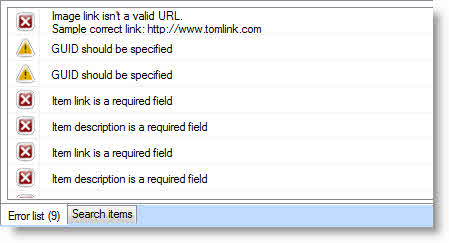
Error list - shows the errors found by built-in RSS Validator, and enabling you to create well-formatted channels;
Search items - this function is needed and useful in case you have a lot of items.
Additional tools
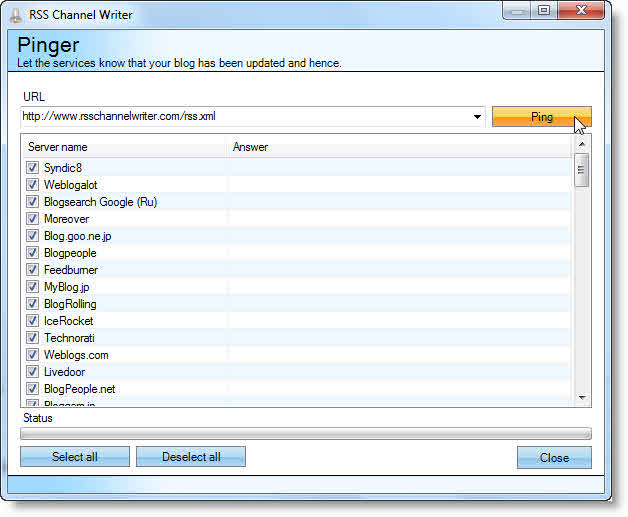
Pinger
There are a lot of RSS servers ready to accept RSS feeds for publication. Publication of your RSS feed will let you generate more traffic to your website.
With the help of this tool you can automatically inform those servers about your RSS channel. Enter your RSS URL and click "PING" so that more than 105 RSS servers are informed about your RSS feed. The ping results will be shown in the "Answer" column. In some cases some servers are temporarily unavailable due to internal problems. In general those problems are solved during a short time. Just make a ping to those servers once again after several minutes and don't forget to uncheck the check boxes for servers that successfully accepted the RSS feed. Avoid double pinging of the same (unchanged) RSS feed to the same RSS server.
We regularly update the list of servers that publish RSS channels.
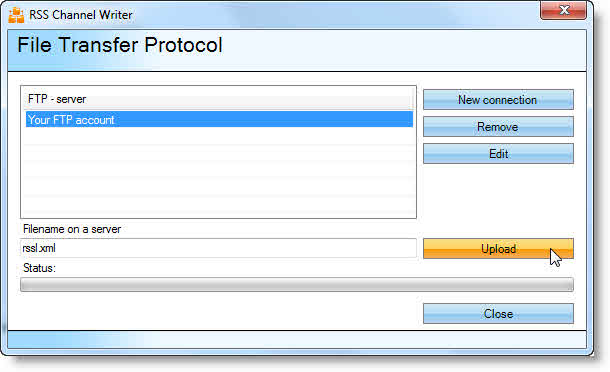
FTP Manager - uploading feed to server
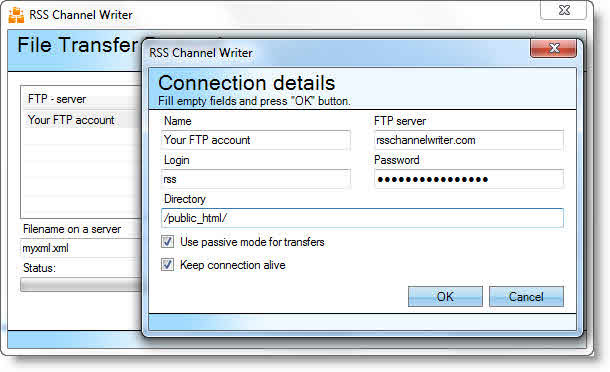
Here you can upload the generated RSS file to the web server. Click "NEW CONNECTION" to configure FTP connection of your website.
Enter a connection name, FTP server, login, password and the directory (remote directory the generated RSS file should be uploaded to).
If you don't know what type of connection your server uses, then let the "USE PASSIVE MODE FOR TRANSFERS" setting unchanged.
Then choose the connection and the file for uploading to server (e.g. rss.xml) and click "UPLOAD".
|